Send & Receive Tokens
Send tokens
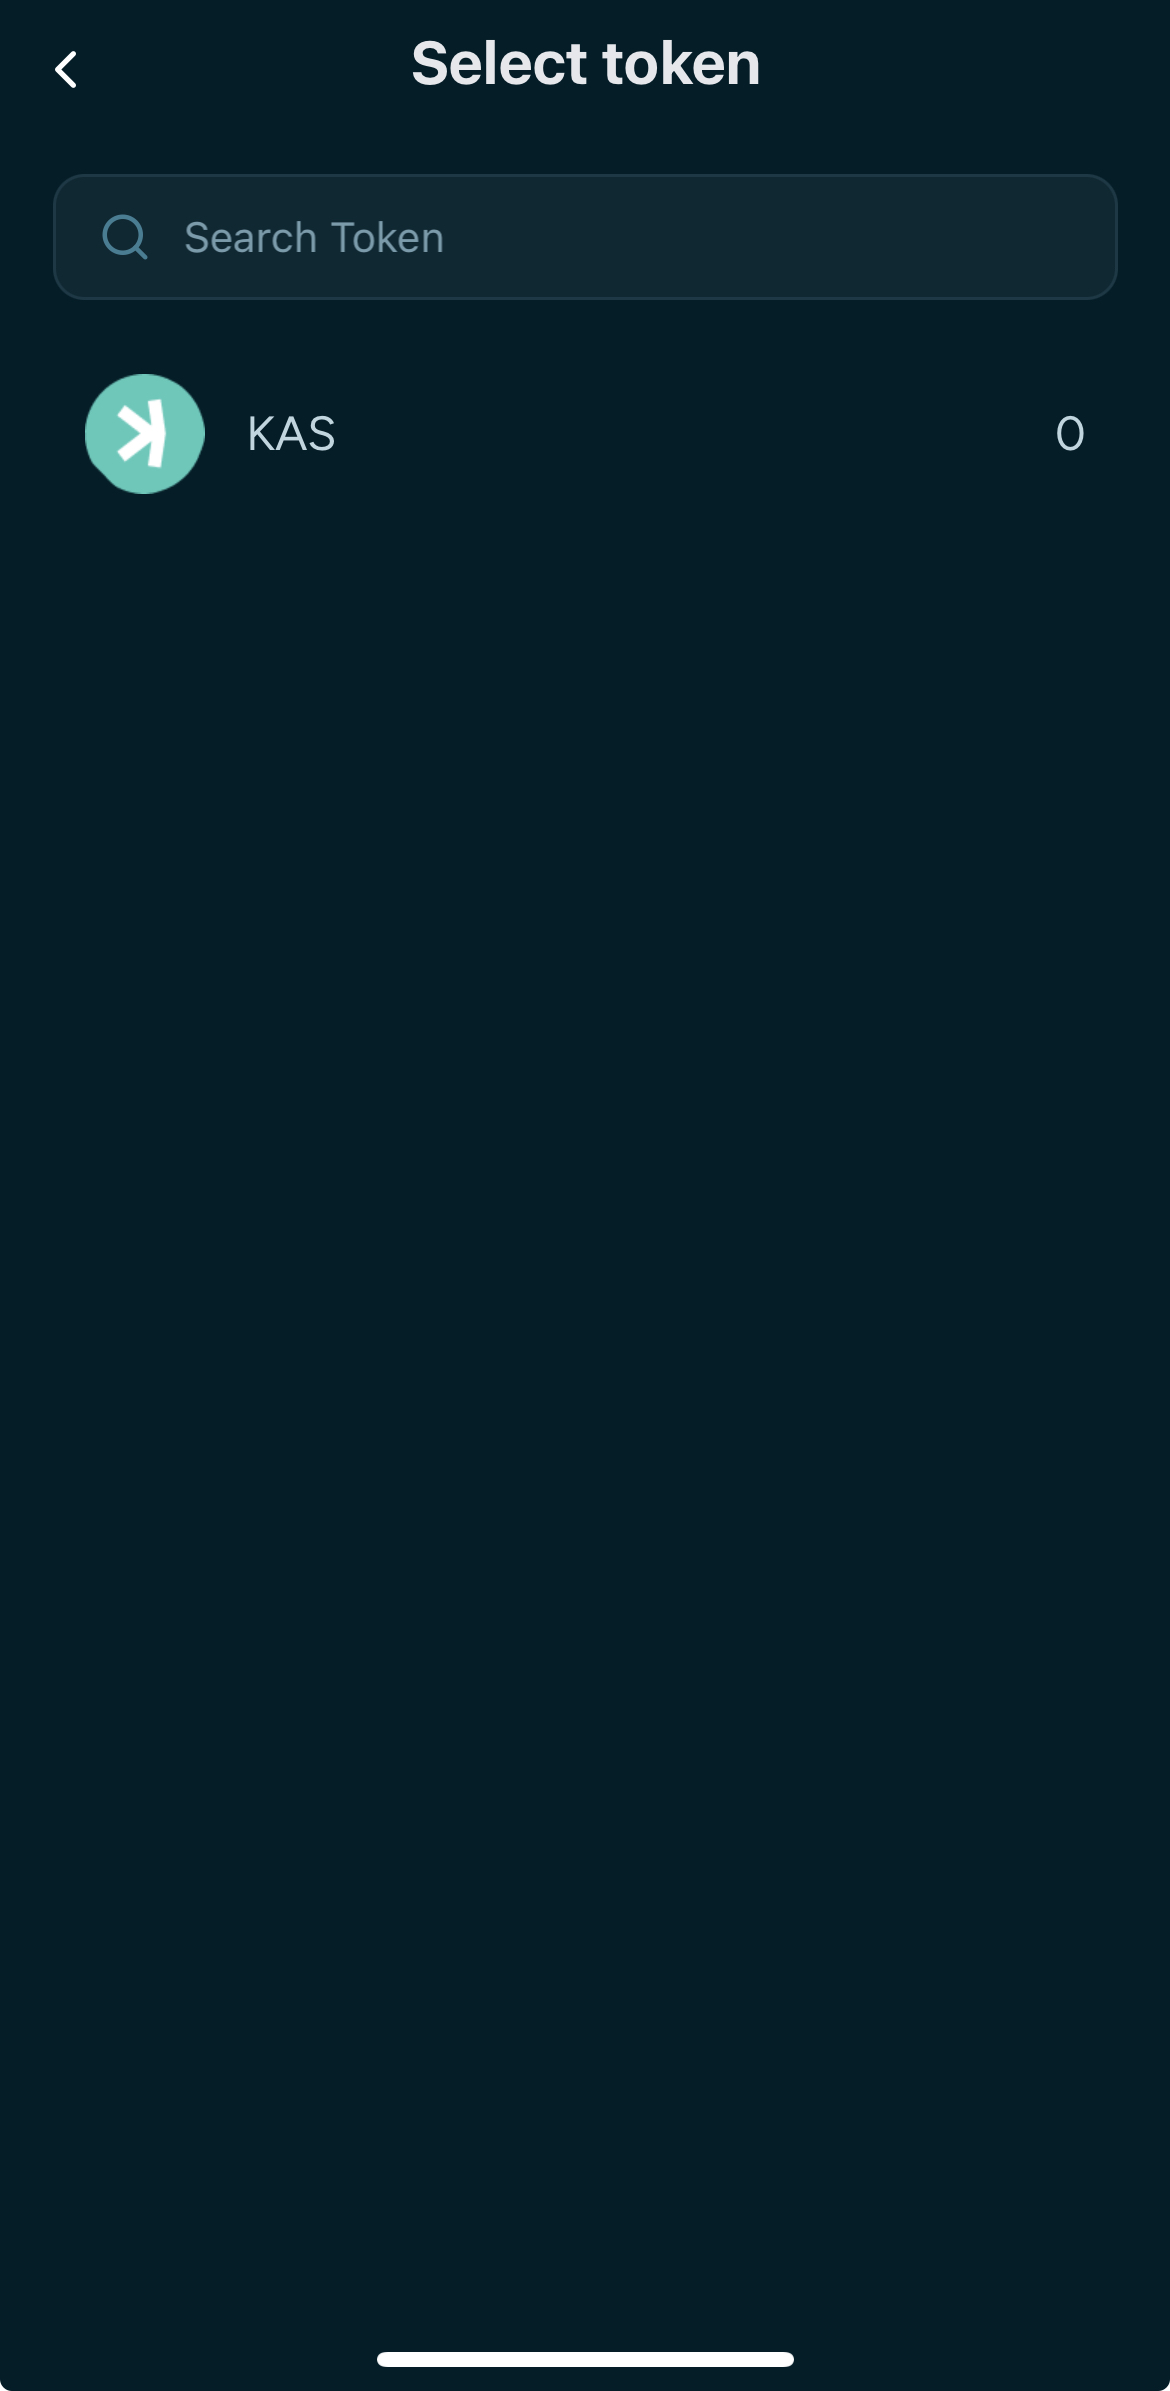
- After you tap on the "Send" button in the dashboard you will be redirected to the first step where to select the asset you want to send
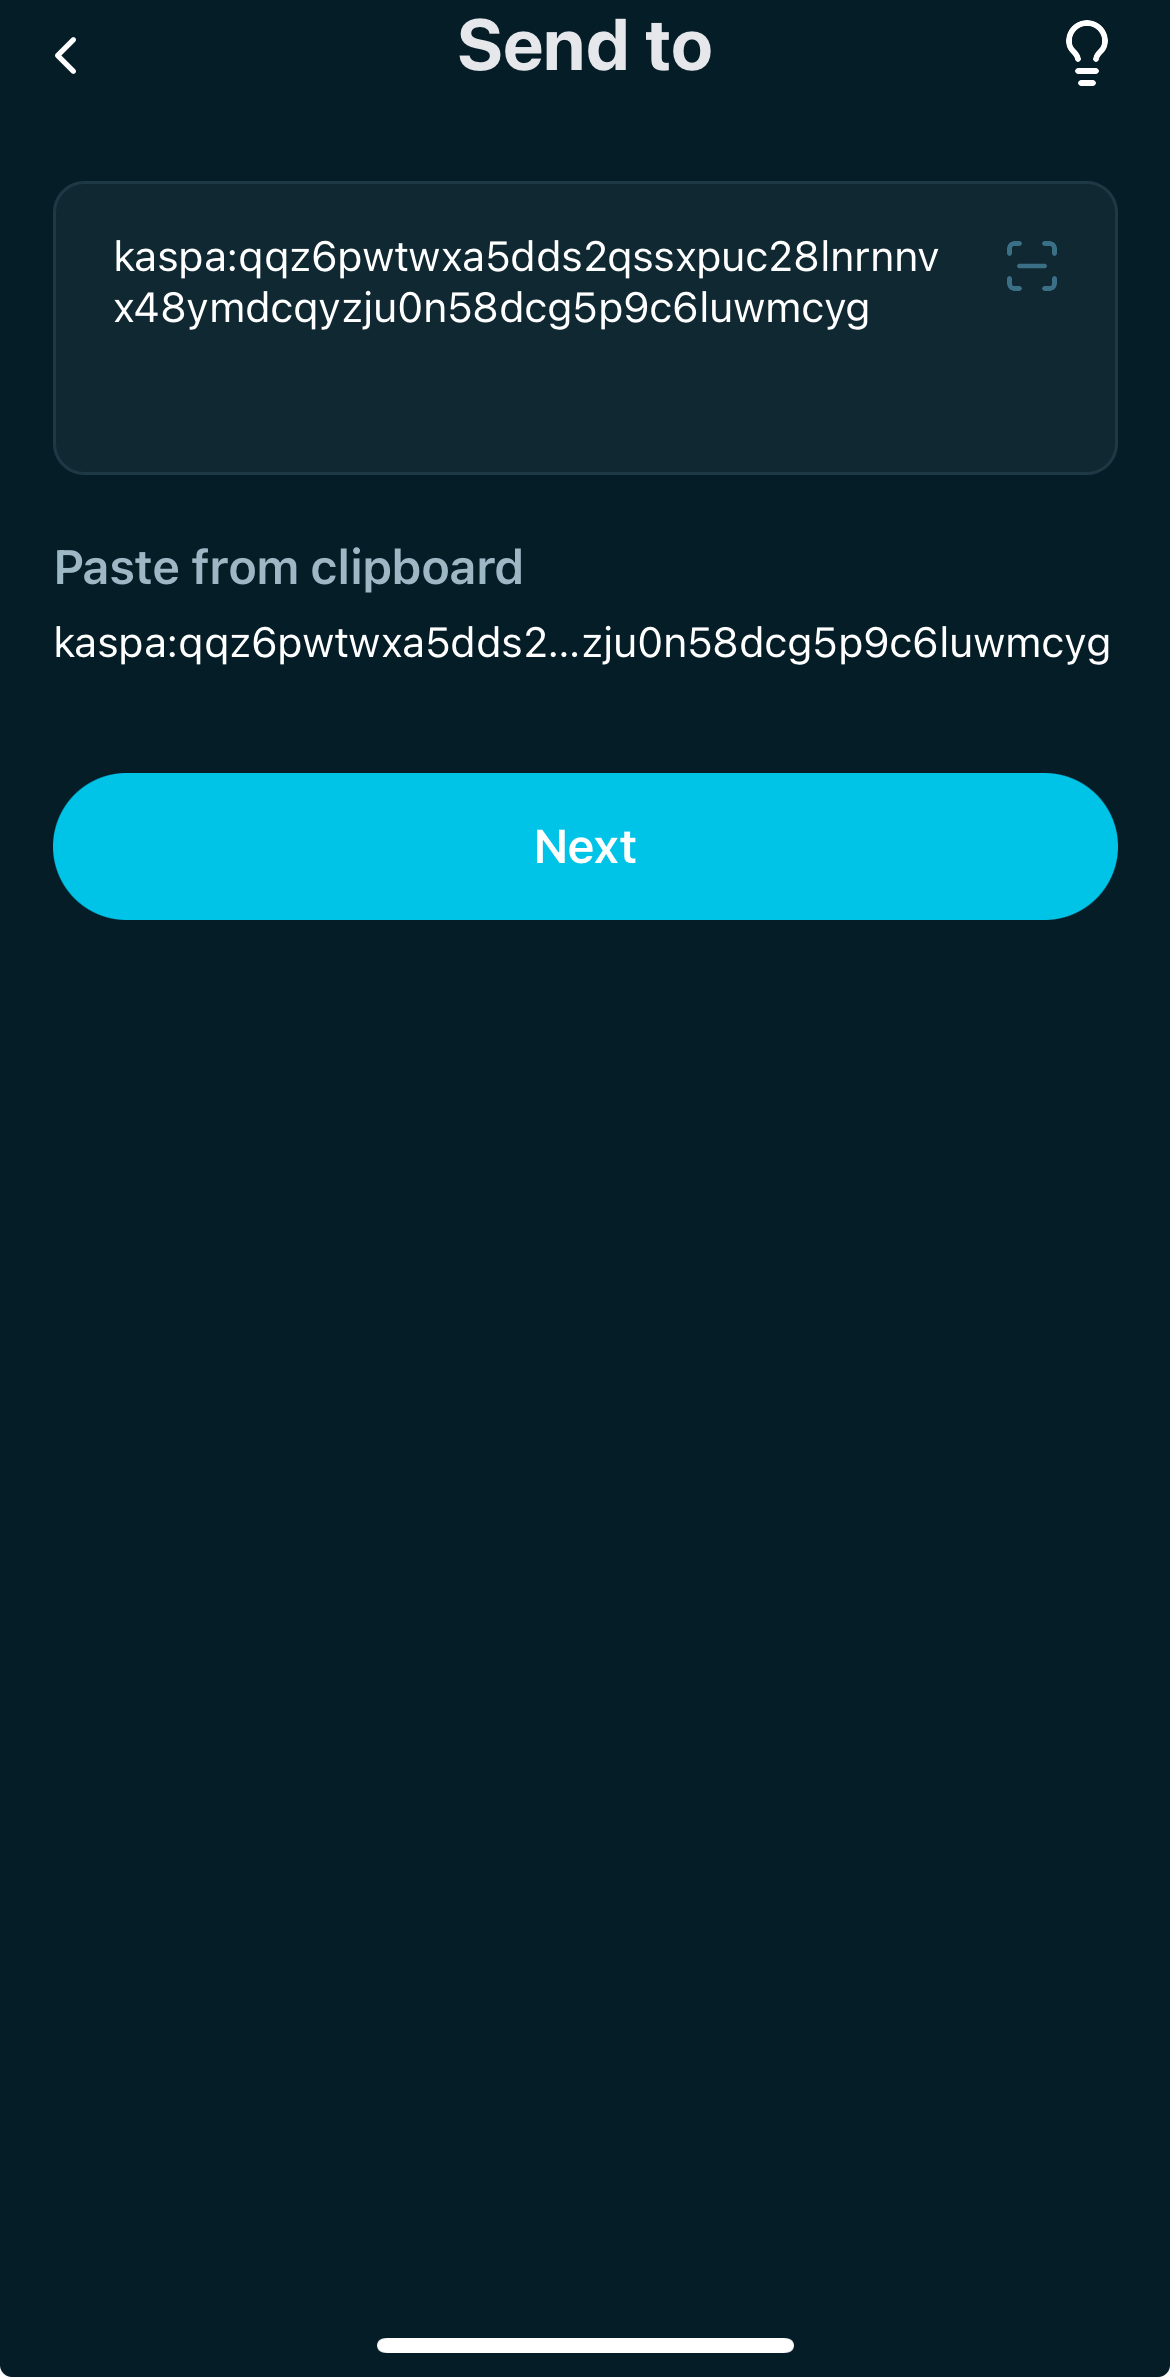
- After you tap on the "Send" button in the dashboard you will be redirected to the first step where to input the receiver's address

- After adding the receiver's address, tap on "Next"
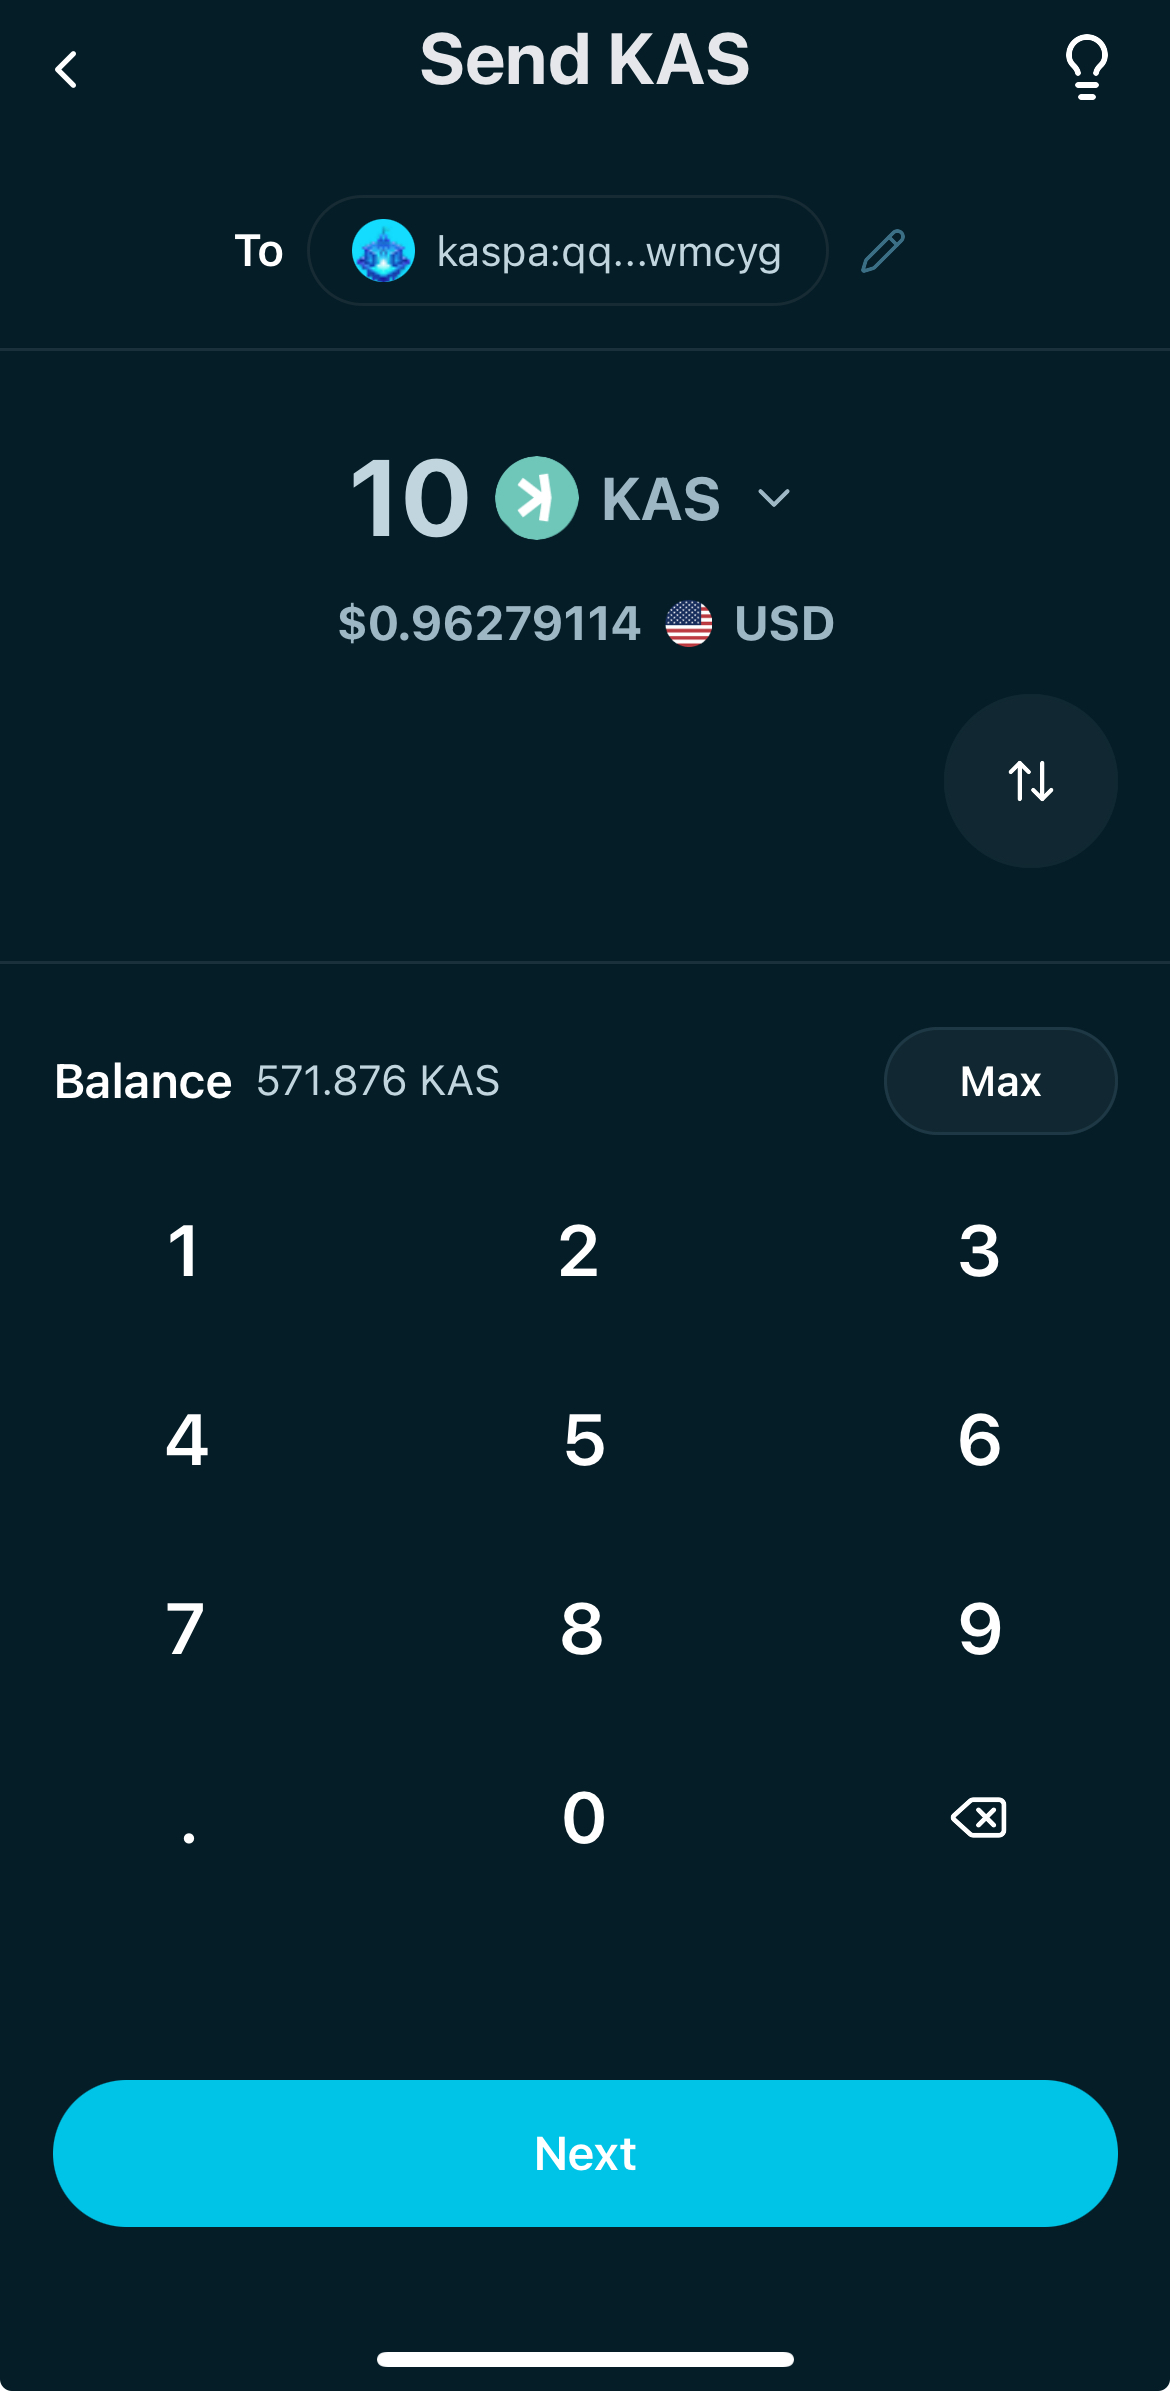
- Now select the amount you want to send by using the app's keyboard and then tap on "Next"
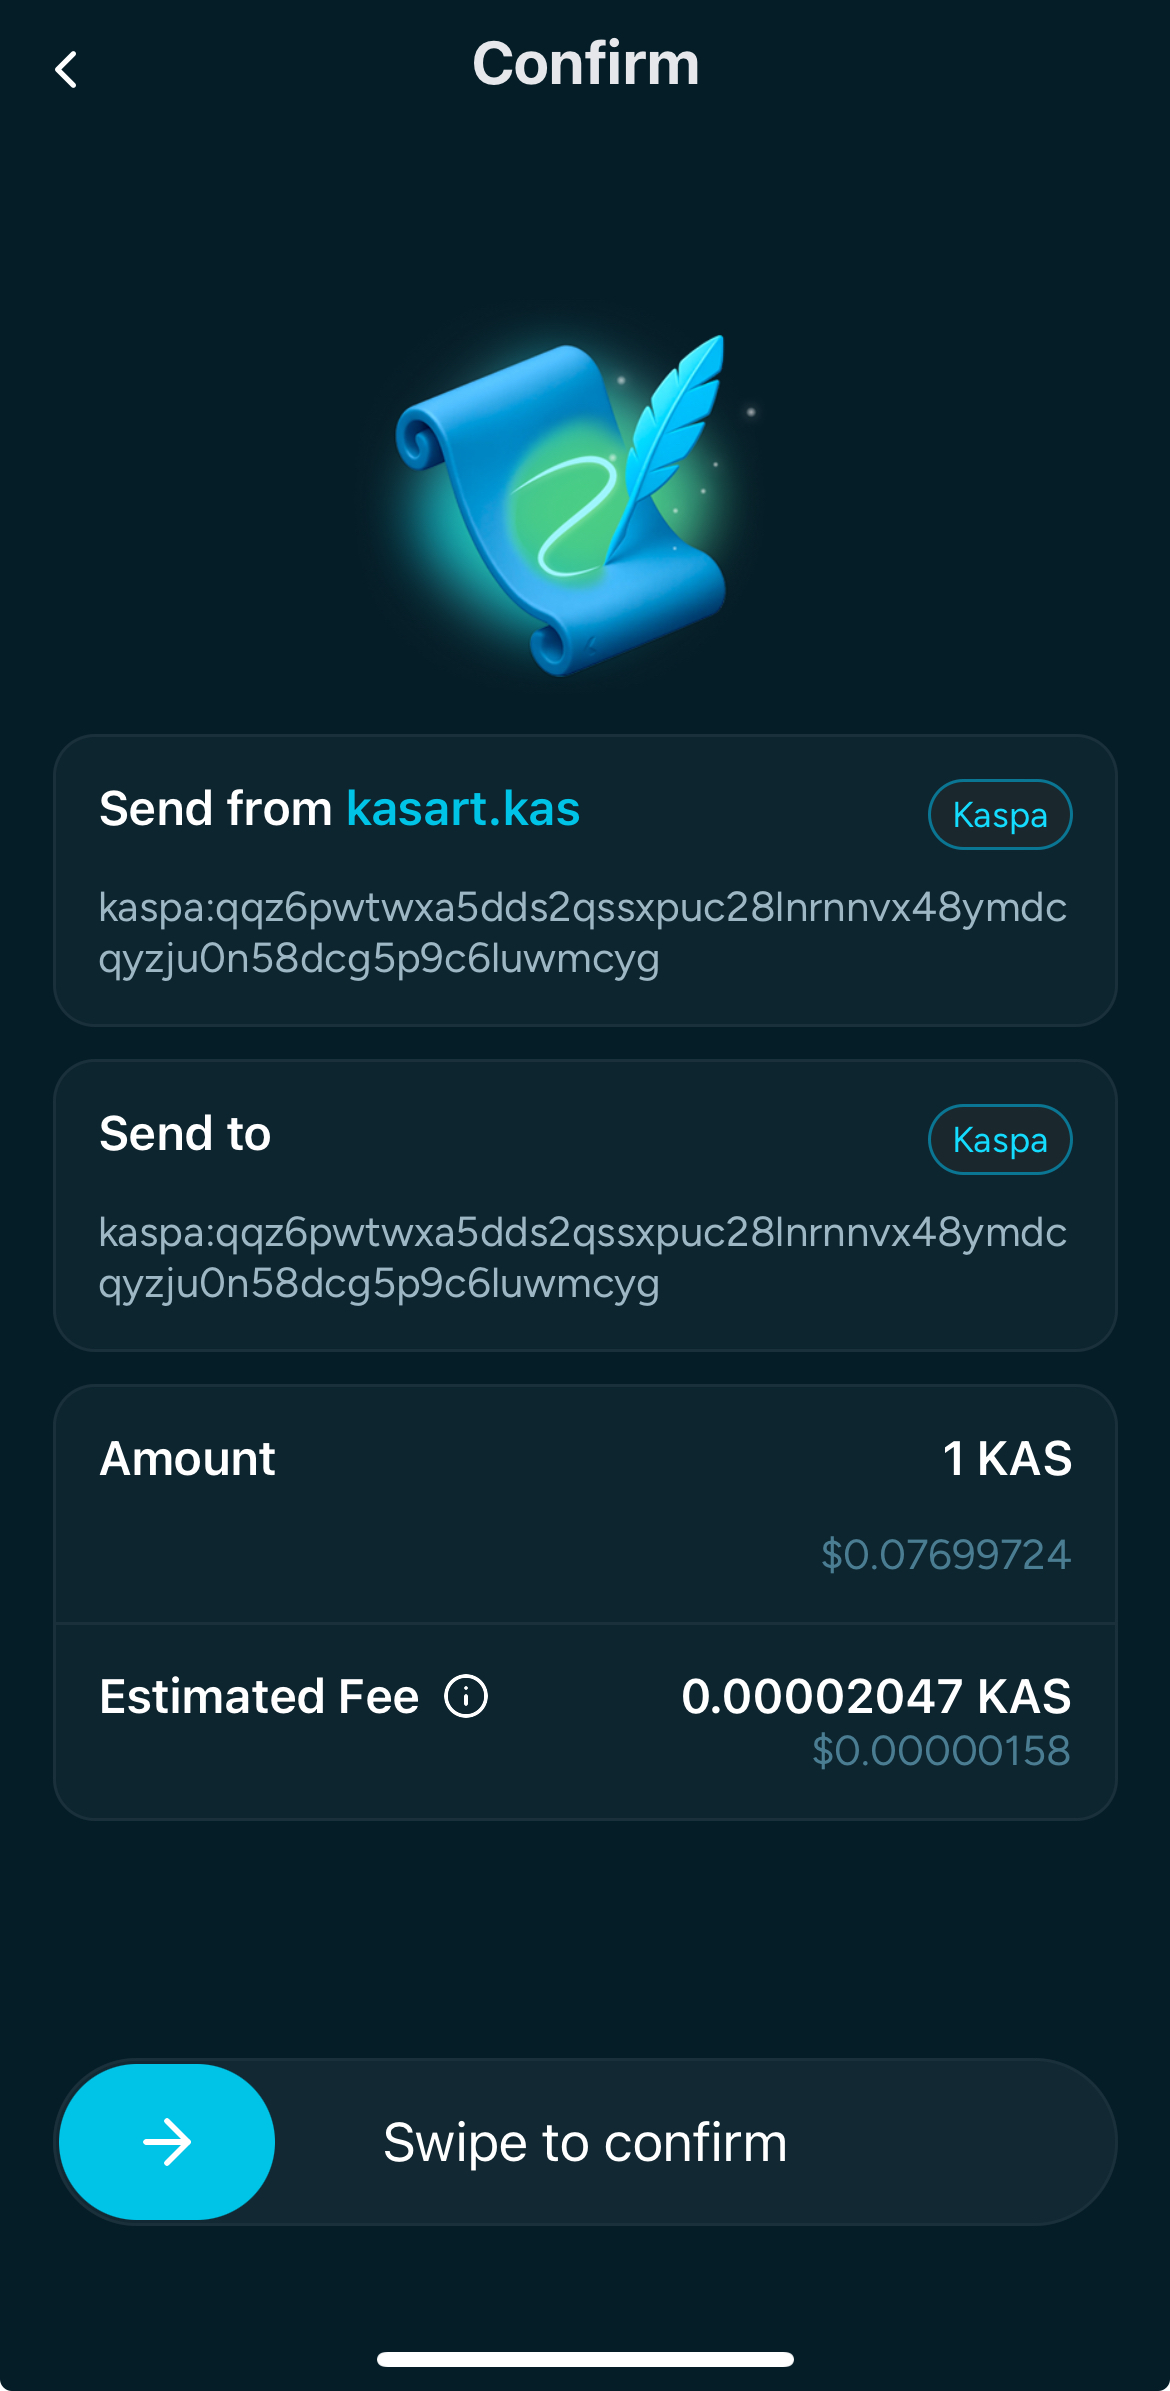
- Confirm the transaction by swiping
- After the confirmation you should see the "Success" screen if everything went through correctly

Receive Tokens
- To receive tokens just:
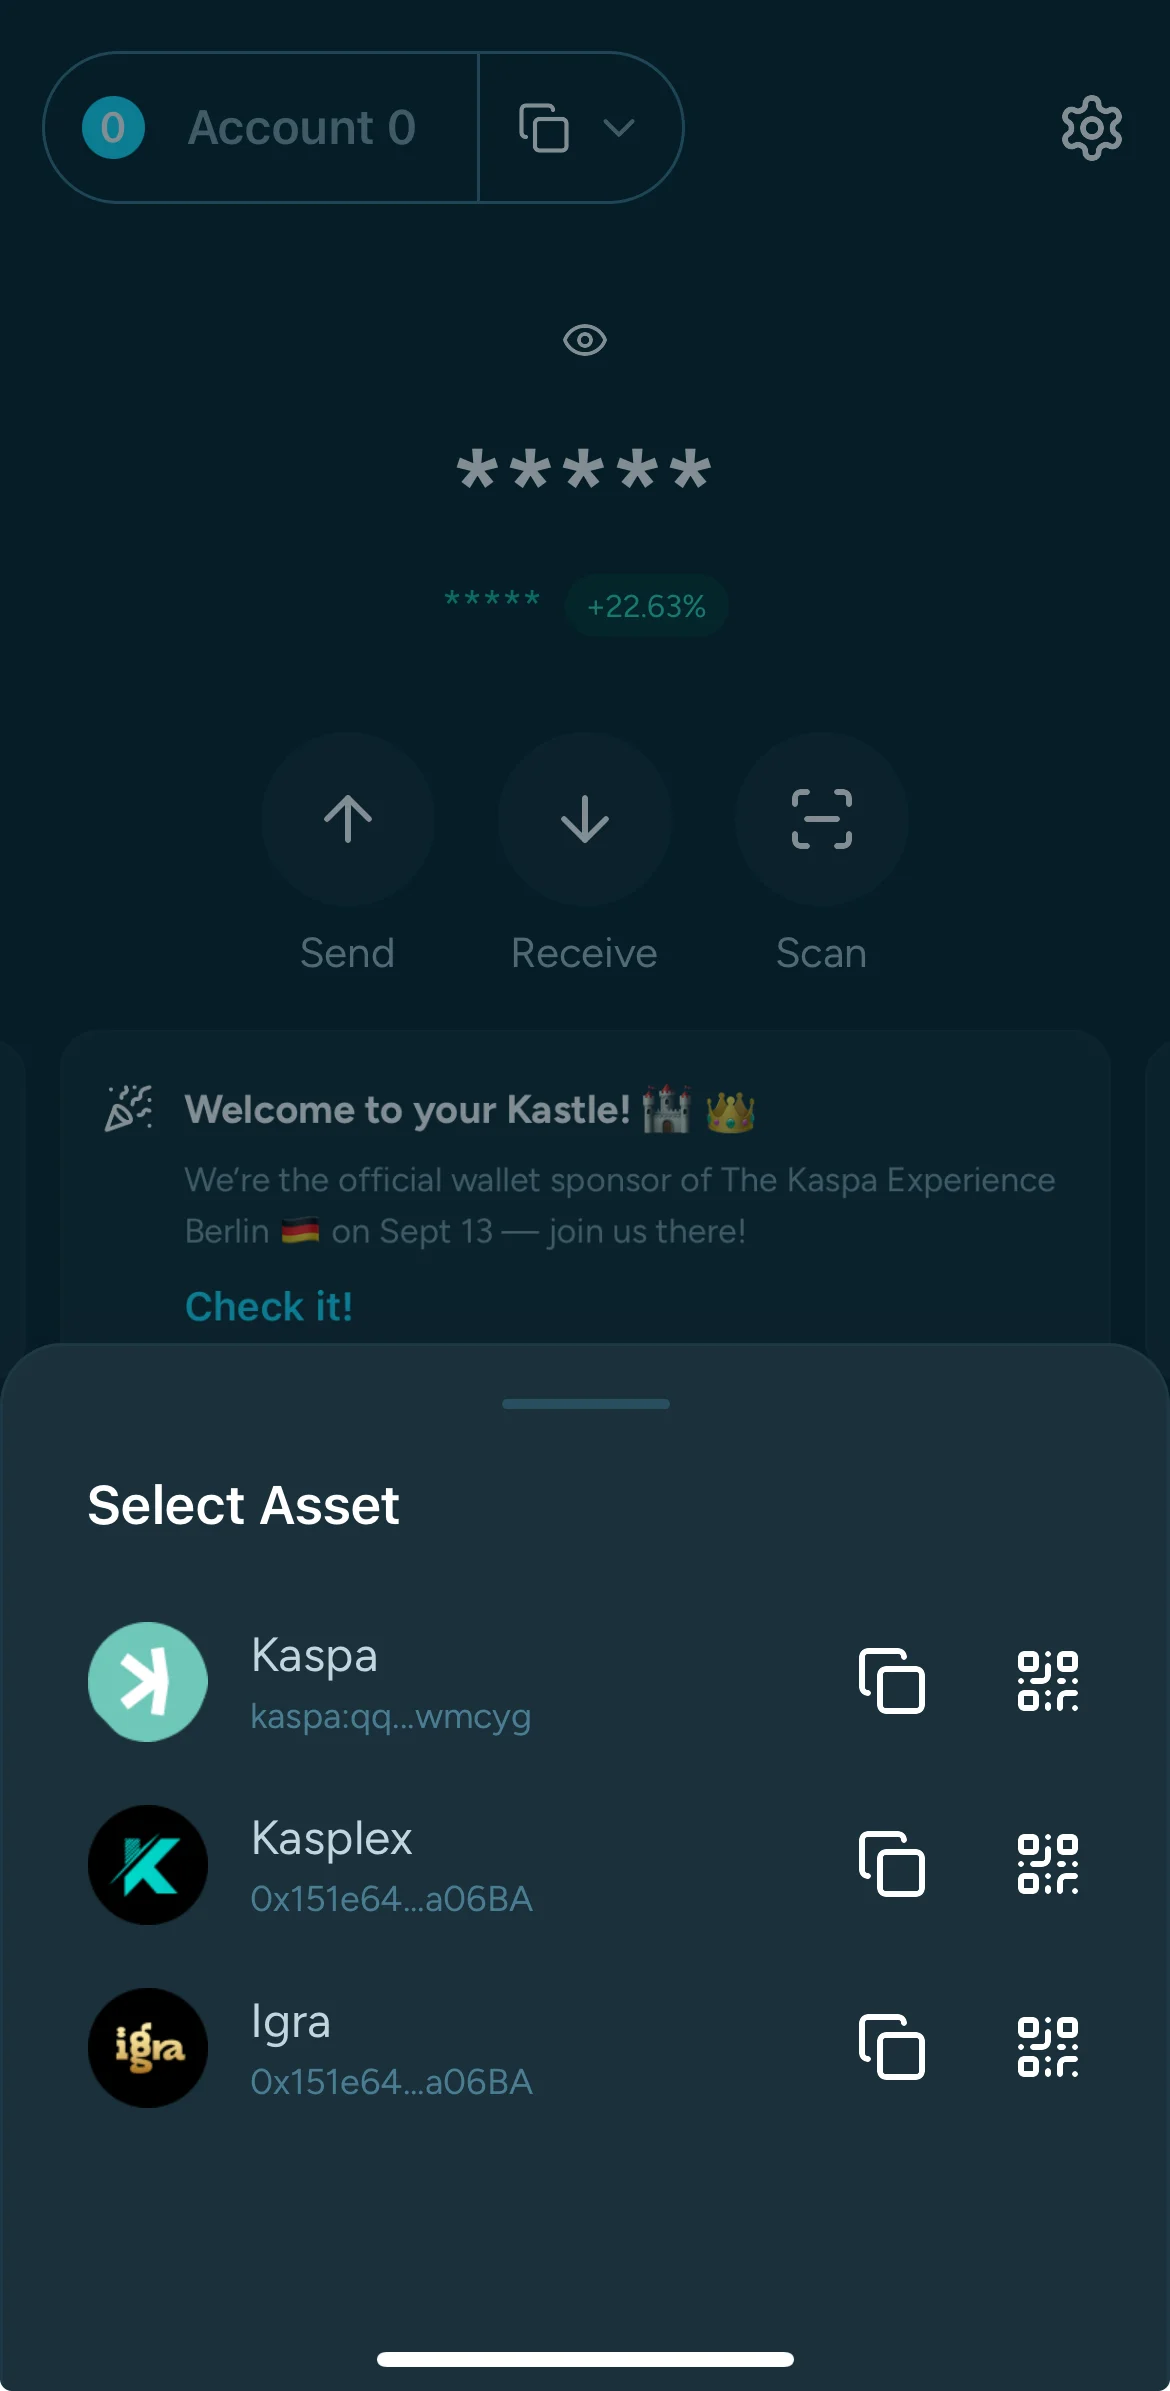
- Tap on the "Receive" button and select the network you want to copy the address for between Kaspa L1, Kasplex L2 and Igra L2
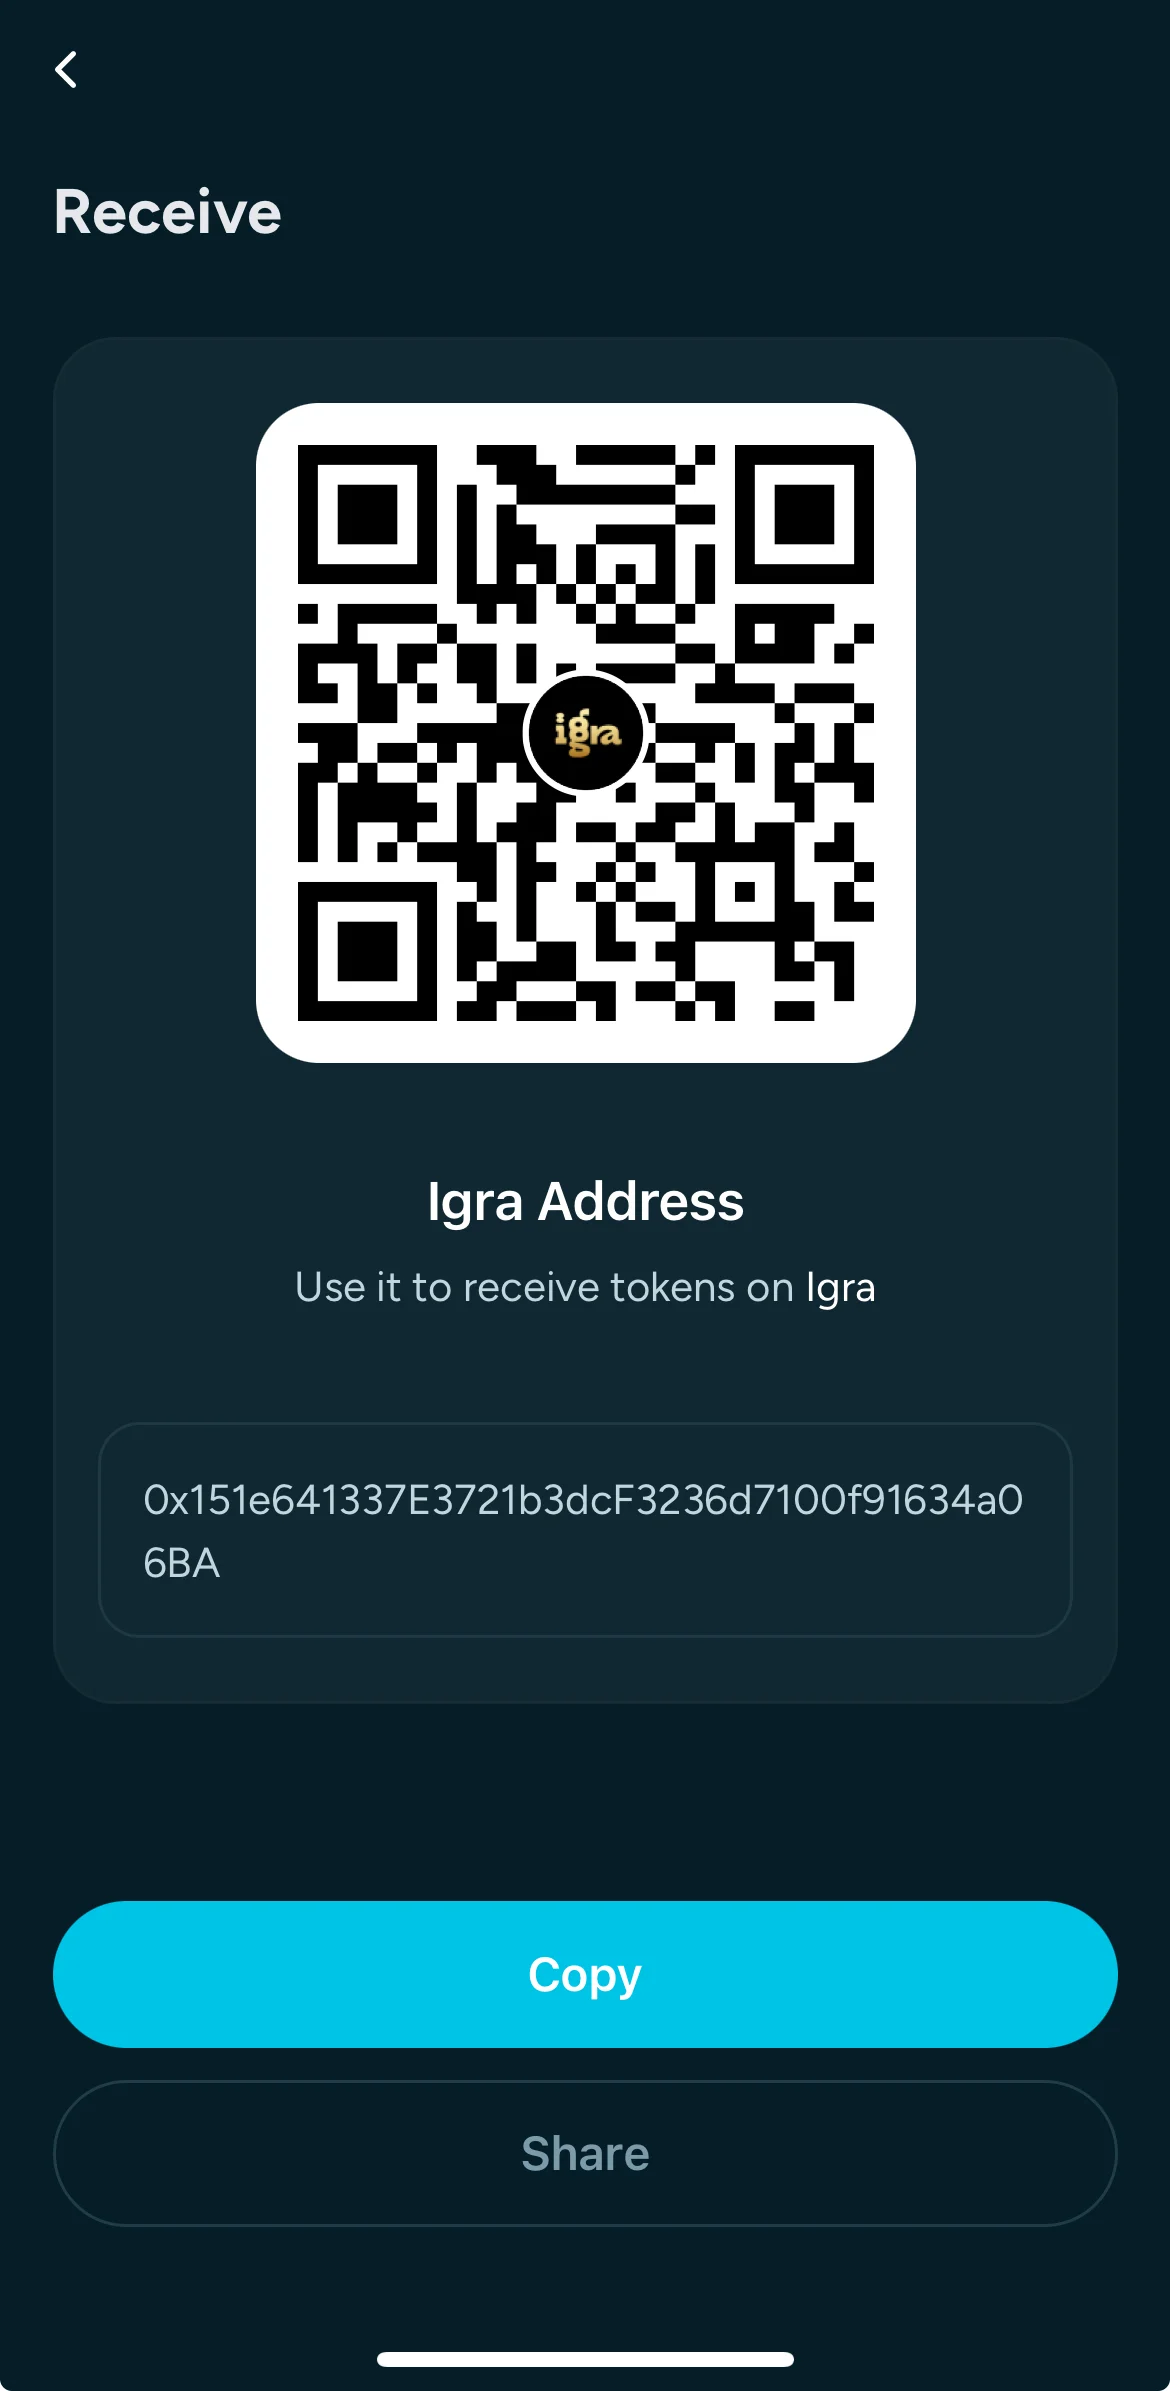
- Tap on "Copy" or "Share" and deliver the address to the sender.
Send & Receive Tokens
Send tokens
- After you tap on the "Send" button in the dashboard you will be redirected to the first step where to select the asset you want to send
- After you tap on the "Send" button in the dashboard you will be redirected to the first step where to input the receiver's address
- After adding the receiver's address, tap on "Next"
- Now select the amount you want to send by using the app's keyboard and then tap on "Next"
- Confirm the transaction by swiping
- After the confirmation you should see the "Success" screen if everything went through correctly
Receive Tokens
- To receive tokens just:
- Tap on the "Receive" button and select the network you want to copy the address for between Kaspa L1, Kasplex L2 and Igra L2
- Tap on "Copy" or "Share" and deliver the address to the sender.